Tuesday 17 June 2014

SherstonFest - 2014

What a wonderful time we had!


Well the festival came and went in a flash, we had a really good time selling all the delicious cakes and sweets that we had spent all week preparing.  

It was a really positive experience for us and we’d like to thank SherstonFest for having us along and all our customers over the weekend for enjoying our food and for all their lovely compliments!

Maybe we’ll see you next year, or at another event near you soon!

Here are some pictures for you to enjoy:


Tea 7.jpg

The Team!

Tea4.jpg

Cakepops!

Tea 5.1.jpg

Alice, The Mad Hatter and some fine looking cupcakes!


Tea 1.1.jpg

Our table, laden with goodies!


Tea 8.2.jpg

Some of our young customers

Tea 3.1.jpg

Bye Bye - 'til next time!

Wednesday 11 June 2014

Carrot Cake


Oh yeah! 

Made with Wholemeal flour, this Carrot cake recipe is truly heart-warming.  

Add soft fruits, nuts, whatever you like to make it a bit different, 
you can even top it with a cream cheese icing if you like! 

Carrot cake is beautifully moist, so keeps well. If your kitchen is warm, store the cake in the fridge.  
This recipe, (adapted from Mary Berry's) is a winner, every time!


Serves 8
  • 250ml (9fl oz) sunflower oil
  • 4 large eggs
  • 225g (8oz) light muscovado sugar
  • 200g (7oz) carrots, peeled and coarsely grated
  • 200g (20oz) wholemeal flour
  • 100g (10oz) self-raising flour
  • 1 tsp baking powder
  • 1 tsp ground mixed spice
  • 1 tsp ground ginger


For the Iceing
  • Use a sharp knife to remove outer pith and then segment lemon
  • Squeeze out remaining juice and add to icing sugar in a bowl with the segments
  • Mix gently and spread over the cake
  • Sprinkle with the zest.

          THE MARY BERRY WAY: ‘HOW I MAKE THE MIXTURE’

          Put the oil, eggs and sugar into a large mixing bowl. Whisk until
          the mixture is well combined, lighter and noticeably thickened. Gently fold the carrot into the cake batter, then stir in the flour, baking powder, mixed spice, ginger and chopped nuts until
          evenly blended.

          Tuesday 10 June 2014

          Chocolate Malteser Cake


          Chocolate Malteser Cake

          From "Feast", Nigella Lawson (2004)


          O-M-G!!! What a fantastic combination for a really naughty chocolate cake!  
          I’m putting on pounds, just looking at this one, I have been baking this one today for the music festival on Friday - I can’t just wait to try a piece!

          *   *   *
          For the cake (makes 8-10 slices)
          150g soft brown sugar (muscovado sugar is best for flavour)
          100g caster sugar
          3 large eggs
          175ml milk
          15g unsalted butter
          2 tablespoons Horlicks powder
          175g plain flour
          25g cocoa, sieved
          1 teaspoon baking powder
          1/2 teaspoon bicarbonate of soda


          For the icing and decoration
          250g icing sugar
          1 teaspoon cocoa
          45g Horlicks
          125g soft unsalted butter
          2 tablespoons boiling water
          2 x 37g packets Maltesers


          Take whatever you need out of the fridge so that all the ingredients can come to room temperature (though it's not so crucial here, since you're heating the milk and butter and whisking the eggs.


          Preheat the oven to Gas Mark 3/170C. Butter and line two 20cm loose-bottomed sandwich cake tins with baking parchment.


          Whisk together the sugars and eggs until light and frothy. Heat the milk, butter and Horlicks powder in a small saucepan until the butter has melted and the mixture is hot but not boiling. Beat the milk mixture into the eggs a little at a time. Fold in the dry ingredients thoroughly. Divide the cake batter evenly between the two tins and bake in the oven for 25 minutes, by which time the cakes should have risen and will spring back when pressed gently. Let them cool on a rack for about 5-10 minutes and then turn them out of their tins.


          Once the cakes are cold, you can get on with the icing. I use a processor just because it makes life easier: you don't need to sieve the icing sugar. So: put the icing sugar, cocoa and Horlicks in the processor and blitz to remove all lumps. Add the butter and process again. Stop, scrape down, and start again, pouring the boiling water down the funnel with the motor running until you have a smooth buttercream.


          Sandwich the cold sponges with half of the buttercream, and then ice the top with what is left, creating a swirly pattern rather than a smooth surface. Stud the outside edge, about 1cm in, with a ring of Maltesers or use them to decorate the top in which-ever way pleases you.


          NB:
          Nigella's Chocolate Malteser Cake (from Feast) is given a Malteser (malted milk ball) flavour with the addition of malted milk powder. There are two well-known brand names, Horlicks and Ovaltine, but a store own brand malted milk powder would also be fine. You should be using the traditional, just malt, version and not an alternative flavoured version.
          We would also mention that you need to use the type of malted milk powder that is added to hot milk, and not the "instant" type that would be added to boiling water. The instant drinks contain skimmed milk powder and could affect the finished cake.

          ALSO:
          Nigella's Chocolate Malteser Cake (from Feast) does have a slightly liquid batter but this is necessary for the cake to have a moist texture once baked. The dry ingredients are folded in at the very end to reduce the risk of the gluten in flour being over-worked, which could cause the cake to become tough. If you are using a free-standing mixer then you can usually mix in the dry ingredients gently by using the lowest speed setting.

          If you are folding in the flour by hand then you can try using a large metal spoon, or you could try gently mixing using a large metal balloon whisk. Sometimes the whisk can help to break up any small lumps. If you are adding the flour in batches then you could try a method favoured by many American recipes which is to mix in 1/3 of the dry ingredients/flour mixture, half of the liquid ingredients, another 1/3 of the dry ingredients, the remaining half of the liquid ingredients and finally the remaining 1/3 of dry ingredients.

          You may find it is actually the cocoa powder that is forming the lumps. If this is the case then sift over and mix this in thoroughly on its own first, before folding in the flour, baking powder and bicarbonate of soda.

          Monday 9 June 2014

          Coffee and Walnut cake


          This is one delicious classic that I'm making for the music festival!

          Ingredients

          For the cake
          • 225g/8oz unsalted butter, plus extra for greasing
          • 225g/8oz caster sugar
          • 4 free-range eggs
          • 50ml/1¾fl oz strong espresso coffee
          • 225g/8oz self-raising flour
          • 75g/2½oz walnuts
          For the buttercream topping
          • 125g/4½oz unsalted butter
          • 200g/7oz icing sugar
          • 50ml/2fl oz strong espresso coffee
          • 12 walnut halves, to decorate

          Preparation method


          1. Preheat the oven to 180C/350F/Gas 4.
          2. In a bowl, beat the butter and sugar together until very light and pale.
          3. Add the eggs one at a time to the butter and sugar mixture, beating well to completely incorporate each egg before adding the next egg.
          4. Add the espresso to the mixture and stir well.
          5. Add the flour and walnuts and stir well to completely combine.
          6. Spoon the cake mixture into two lined and greased 20cm/8in cake tins.
          7. Transfer to the oven to bake 25-30 minutes, or until a skewer inserted into the centre of the cake comes out clean and the cake is golden-brown.
          8. Remove the cakes from the oven and leave to cool on a wire rack.
          9. For the buttercream topping, beat the butter and icing sugar together in a small bowl until pale and light.
          10. Add the espresso and mix well.
          11. Spread the buttercream over the top of each cake, then place one cake on top of the other.
          12. Decorate the top of the cake with the walnut halves and serve in generous slices.

          Friday 6 June 2014

          Cup cakes and Cake pops


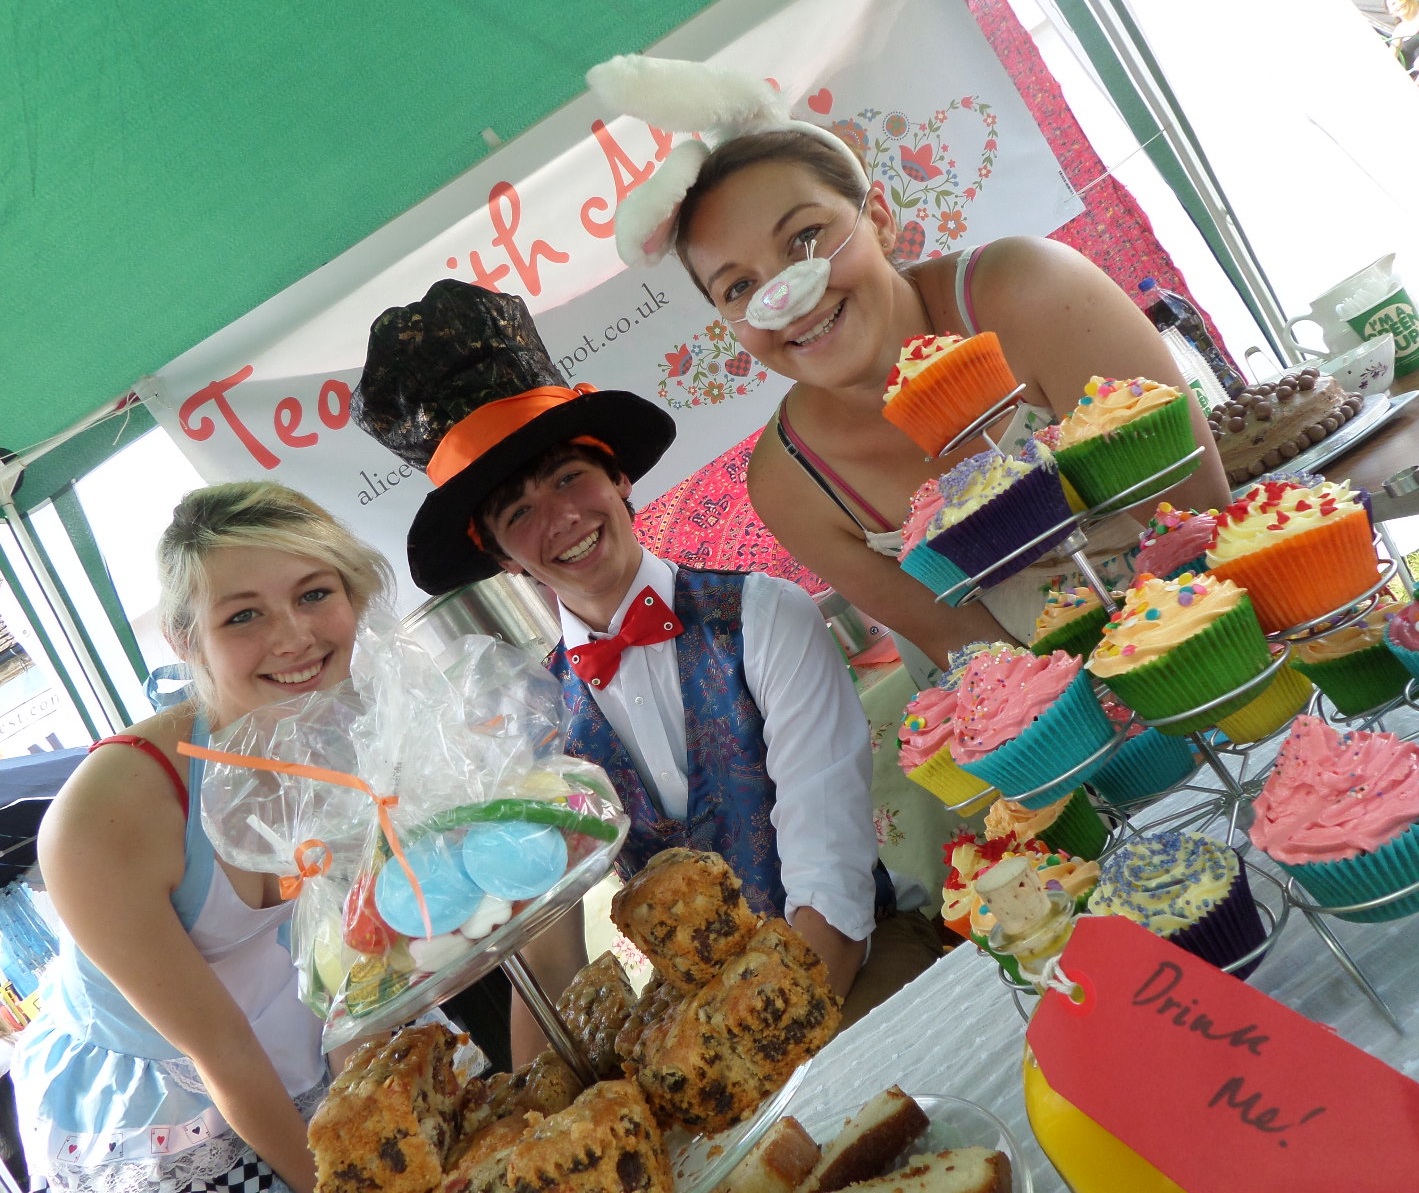
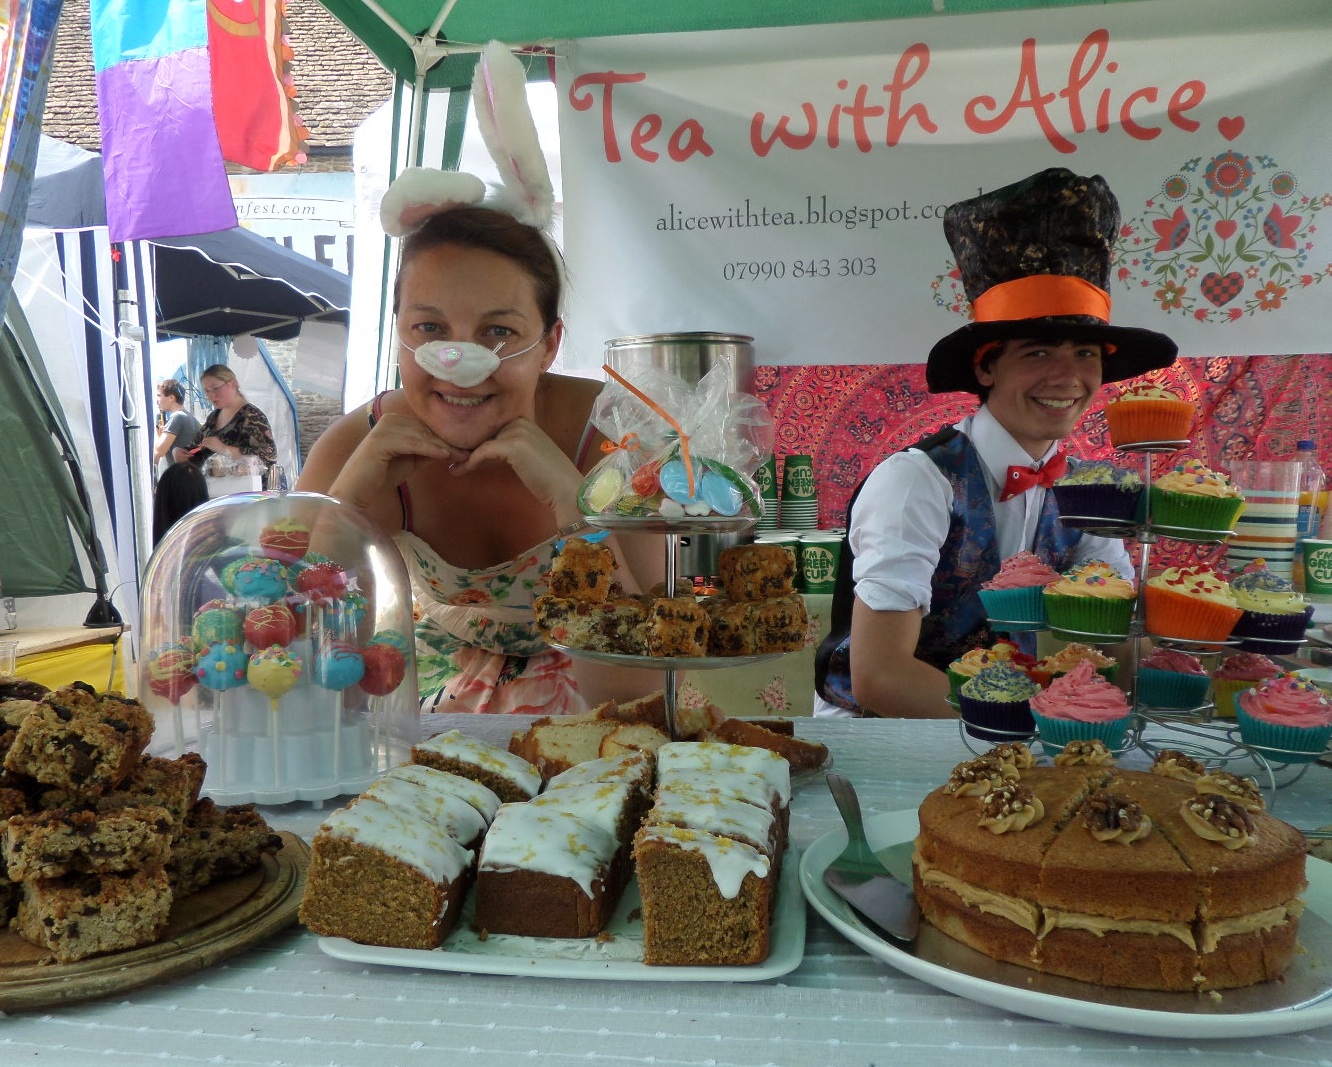
          Let’s face it, we all love a cupcake!


          In the early 19th century, there were two different uses for the name cup cake or cupcake. In previous centuries, before muffin tins were widely available, the cakes were often baked in individual pottery cups, ramekins, or molds and took their name from the cups they were baked in. This is the use of the name that has remained, and the name of "cupcake" is now given to any small cake that is about the size of a teacup. While English fairy cakes vary in size more than American cupcakes, they are traditionally smaller and are rarely topped with elaborate icing.


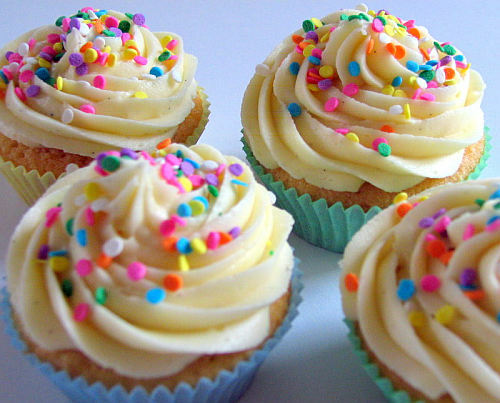
          FAST VANILLA CUPCAKES

          Makes 12
          A simple recipe to top with icing and decorations. Vary the flavour at whim (see below, for ideas for fillings).
          • 4oz/115g butter, at room temperature
          • 4oz/115g caster sugar
          • 2 large eggs, at room temperature
          • half tsp vanilla extract
          • 4oz/115g self-raising flour
          Method:
          Preheat the oven to 170C/325F/gas mark 3. Line a 12-hole cupcake tin with paper cases.
          In the food processor or a tabletop mixer, beat the butter, sugar, eggs and vanilla until smooth.
          Turn off the motor and add the flour. With the pulse button, or brief bursts of the beater, mix the flour in, stopping as soon as it is blended.
          Divide the mixture between the paper cases.
          Bake for 15-20 minutes until golden and springy to the touch.


          Vanilla frosting

          Makes enough to frost 12 cupcakes.
          9oz/250g icing sugar, sifted
          3oz/80g unsalted butter, at room temperature
          1fl oz/25ml whole milk
          A couple of drops of vanilla extract
          Method:
          • Beat the icing sugar and butter together in a free-standing electric mixer with a paddle attachment (or use a hand-held electric whisk) on medium-slow speed until the mixture comes together and is well mixed.
          • Turn the mixer down to slow speed. Combine the milk and vanilla extract in a separate bowl, then add to the butter mixture a couple of tablespoons at a time.
          • Once all the milk has been incorporated, turn the mixer up to high speed.
          • Beat until the frosting is light and fluffy, at least 5 minutes. The longer the frosting is beaten, the fluffier and lighter it becomes.
          From 'The Hummingbird Bakery Cookbook' by Tarek Malouf and the Hummingbird Bakers (Ryland, Peters and Small, £16.99)

          Ideas for fillings

          Lemon curd (Homemade or Duchy Originals do a good one) Chocolate Spread (Marks and Spencer's Fairtrade Chocolate Sauce is to die for)
          Raspberry Jam
          Whipped cream, lightly sweetened
          A cherry soaked in Kirsch (from a jar)

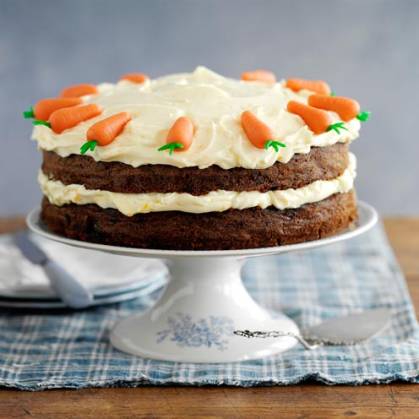
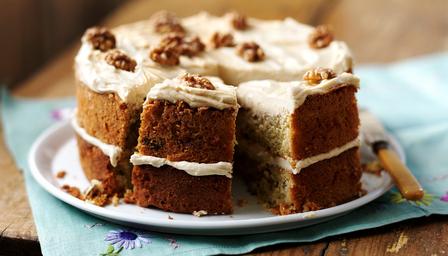
          Cream cheese frosting is fantastic on carrot cakes and cupcakes.
          Vary this basic recipe by adding colours or flavours.

          Ingredients

          150g/5½oz unsalted butter, at room temperature
          45g/3 tbsp caster sugar
          300g/10½oz full fat cream cheese

          Preparation method

          Place the butter in a large bowl with the caster sugar.
          Beat the butter and sugar together for 2-3 minutes until light and creamy.
          Then beat in the cream cheese until smooth.


          RED VELVET CUPCAKES
          Makes 12

          “These are the Dolly Parton of cupcakes, artificially coloured, unashamedly vulgar and absolutely irresistible”, says Xanthe Clay. The base, a vanilla cake with a hint of chocolate, tinted deep red, is another Southern speciality cake, made famous when it was chosen as the wedding cake in the 1989 weepie Steel Magnolias.

          Ingredients
          • 5oz/140g self-raising flour

          • 2 tbsp cocoa

          • Half tsp bicarbonate of soda

          • 4floz/110ml buttermilk

          • 1 tsp vinegar

          • Half tsp vanilla extract

          • 1 tbsp red food colouring

          • 2oz/60g butter at room temperature

          • 6oz/170g caster sugar

          • 1 large egg

          To decorate:

          • Cream-cheese frosting (see below) and fresh cherries

          Preheat the oven to 170C/325F/gas mark 3. Line a 12-hole cupcake tin with cases.

          In a large bowl, whisk together the flour, cocoa, bicarb and a pinch of salt. In a mug, mix the buttermilk, vinegar, vanilla and red food colouring.

          Beat the butter and sugar together until pale and fluffy. Beat in the egg a little at a time. Mix in a third of the flour mixture, followed by half the buttermilk mixture, then another third of the flour, the rest of the buttermilk and finally the last of the flour mixture.

          Divide the mixture between the paper cases. Bake for 20 minutes, until risen and springy - don't overcook them.

          Cool on a rack.

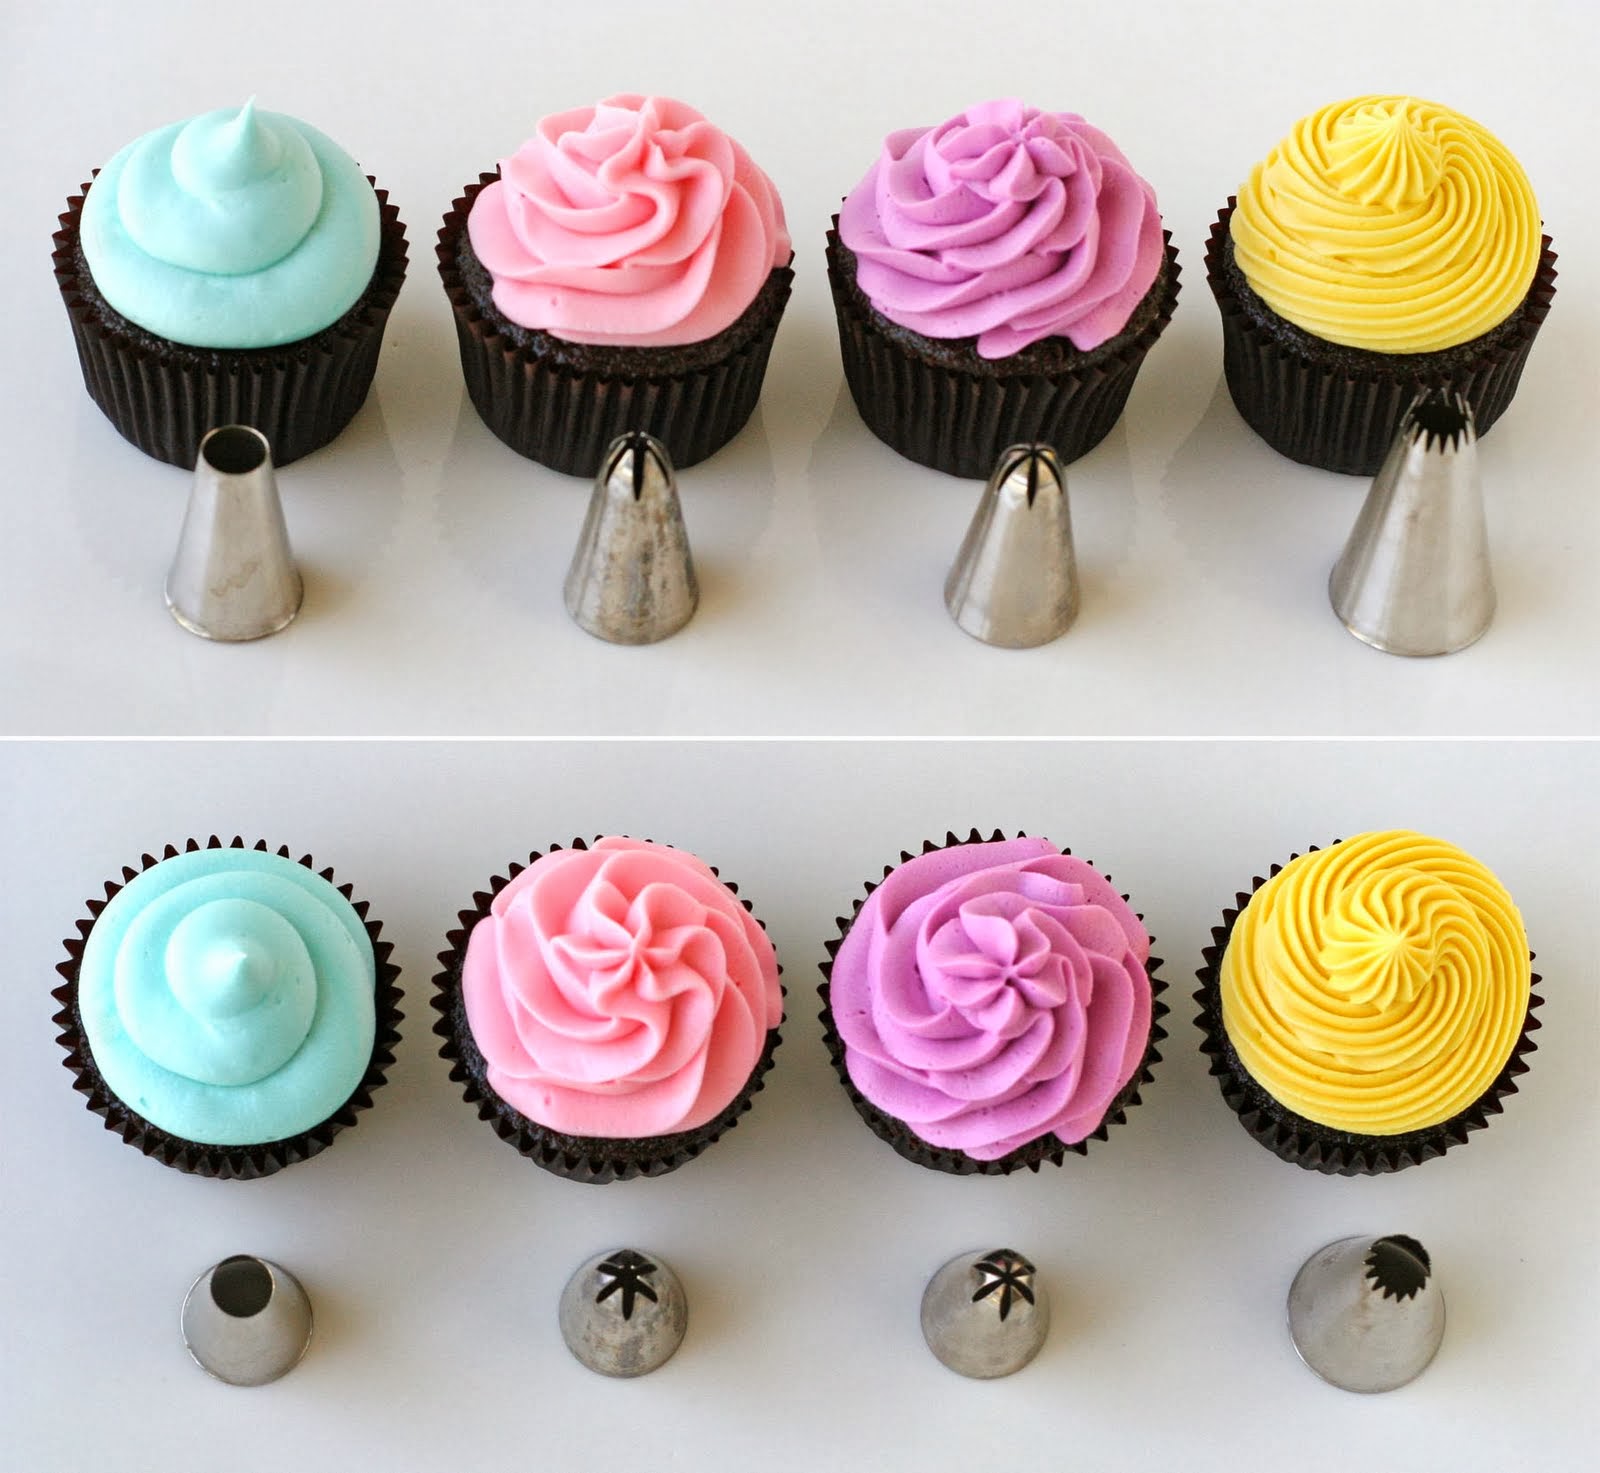
          To decorate, pipe on the frosting and top with a cherry.


          Lavender Cupcakes


          For this recipe you will need to make some lavender sugar first. Simply put a few sprigs of lavender into some caster sugar for a few days and hey presto, lavender sugar.


          For the cupcakes you will need:


          125g self-raising flour, 125g very soft unsalted butter, 125g sieved lavender sugar, 2 eggs, pinch salt and a few tablespoons of milk.


          1. Preheat the oven to 200°C /Gas 6 and line a 12 bun muffin tin with paper cases.
          2. Put all of the cake ingredients, except the milk, into a food processor and whizz, now blend in the milk.
          3. Fill the cake cases and bake for 20 minutes or until cooked.


          For the icing:


          250g Instant Royal Icing, violet icing colour, twelve sprigs lavender


          1. Cut the peaked tops off the cooled cupcakes.
          2. Make up the icing with a little water to a thick double cream pouring consistency. Put some food colour paste onto a skewer and dye the icing to a pastel violet.
          3. Spoon some of the icing over the top of the cupcakes. Top each of the cupcakes with a little sprig of lavender before the icing sets.


          The Lavender Trust, a few years ago, TV cook Nigella Lawson created lavender cupcakes to raise money for a charity especially for young women with breast cancer which was set up in memory of Ruth Picardie.


          TOP TIPS FOR MAKING CUPCAKES

          Use paper cases that fit the cake tins snugly, or they'll either spread too much or wrinkle up. Annoyingly, sizes aren't standardised, so measure your tin's cup size before buying cases.
          Use butter and eggs at room temperature for lighter cakes.
          Don't get any mixture on the edges of the cupcake case: it will burn and may stop the cake rising evenly.
          Turn the tin round after 12 minutes or so if your oven has hot spots.
          If all else fails, buy ready-made and ice them yourself. (Best cheat: ready-made cupcakes that are not filled too high look most homemade when flooded with fondant icing - try Asda's cakes with Tate & Lyle fondant icing mix.)


          Cream-cheese frosting
          This is really a buttercream icing, made with cream cheese rather than purely butter, which cuts the sweetness a bit.
          • 11oz/300g cream cheese
          • 2oz/60g butter at room temperature
          • 1 tsp vanilla extract
          • 12oz/340g icing sugar
          Whizz all the ingredients together in a food processor. Chill for an hour or so before using.


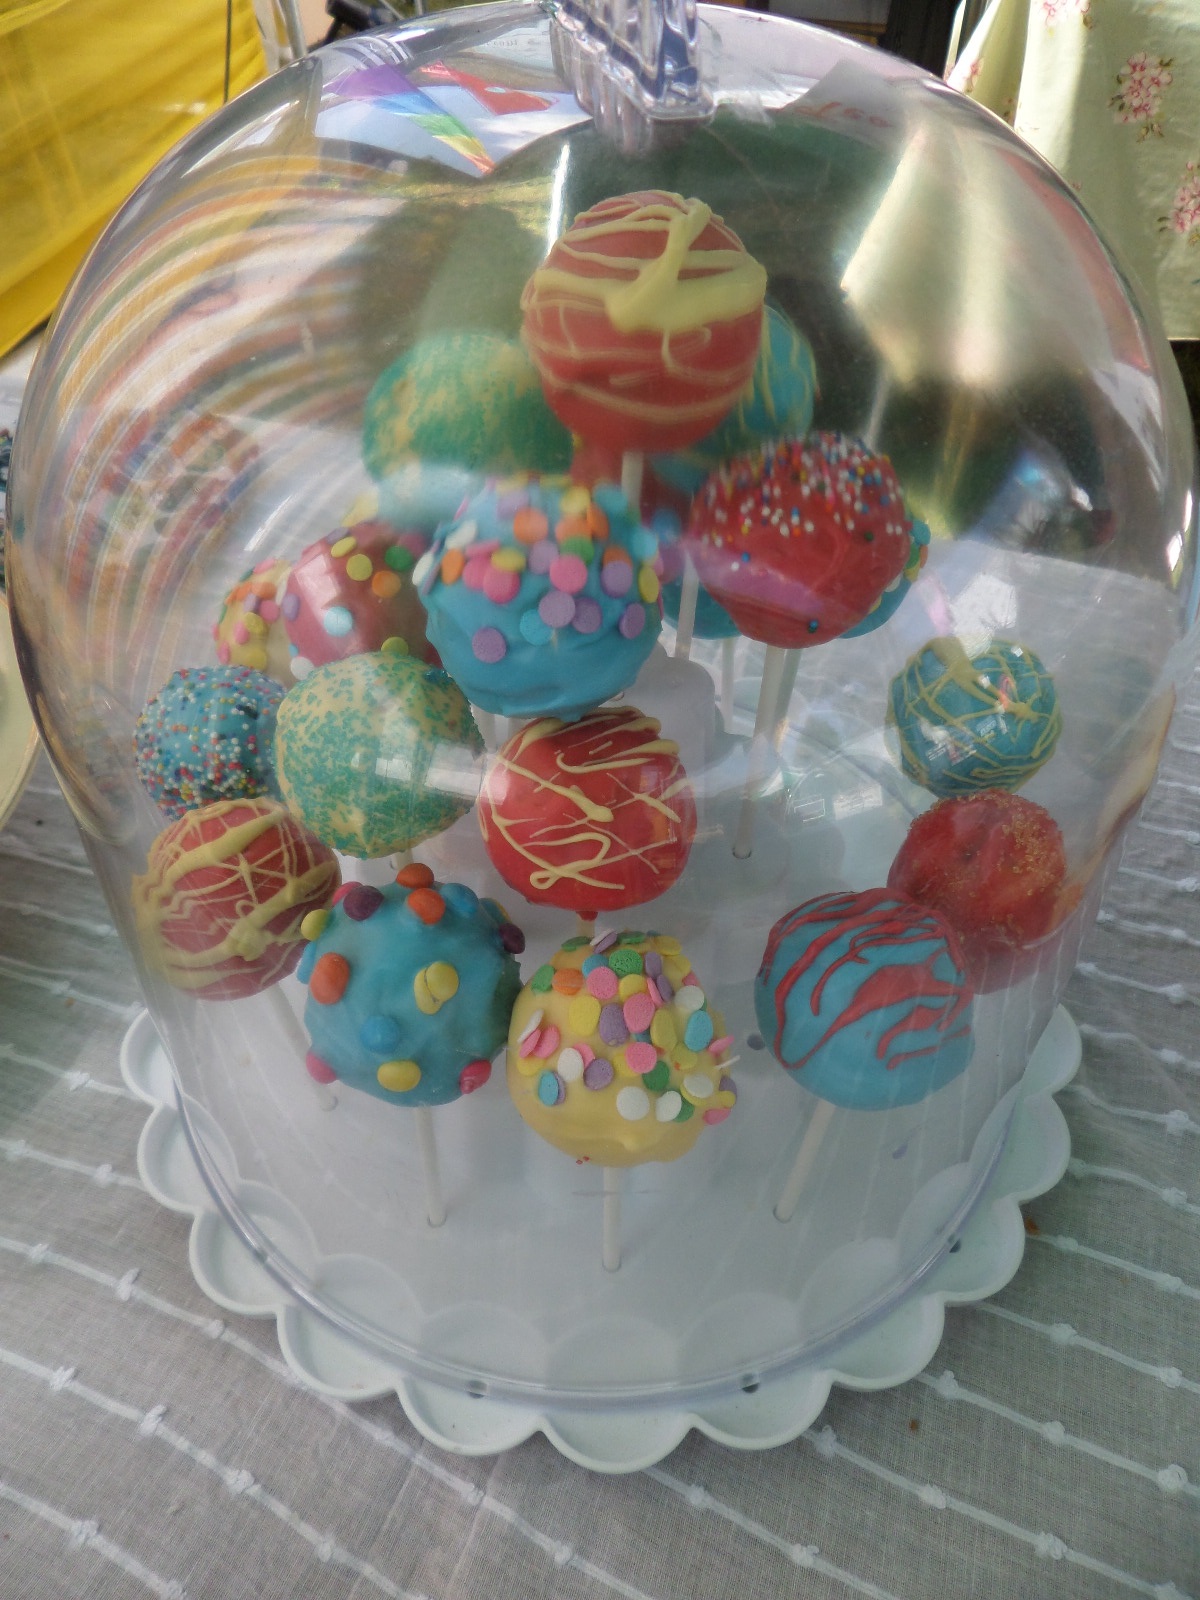
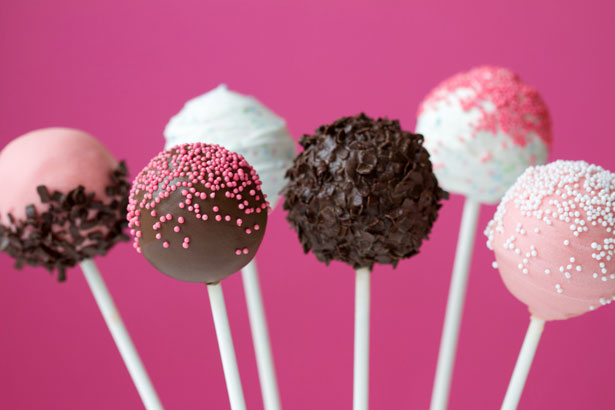
          Crazy for Cake Pops!


          Cake pops have really captured your imagination over recent months, and is it any wonder... Bite-sized morsels of fun on sticks, decorated simply for everyday treats or dressed to the nines to wow on special occasions, what’s not to love?


                Spoon the mixture into this cake pop maker from Lakeland and, in around 4 minutes,
          you’ll have perfectly cooked spherical cakes, ready to be popped onto a lolly stick and decorated!
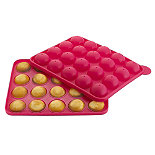
          Or try a non-stick silicone mold for the oven or microwave


          Cake pops are enormously popular, and make the perfect alternative to conventional cakes, whatever the occasion. From elegant flower bouquets for weddings to mini ‘cupcakes’ for birthdays, this mouth-watering collection of over 40 recipes from Lakeland, for these bite-sized treats will be inspiration for all.


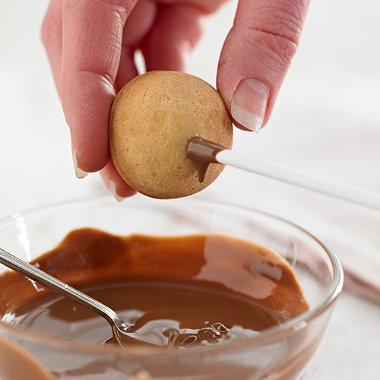
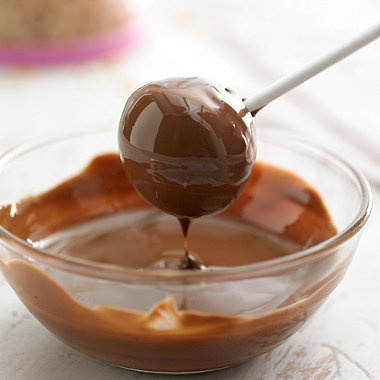
          No matter what kind of cake pops I am making, I always dip my stick into the melted chocolate, and then put my cake pop on it, and then let the chocolate set, usually in the fridge or freezer.


          After I have all of my cake pops on sticks that have been dipped in chocolate, I then put them in my freezer.   Chilling them helps set the chocolate and make the stick, chocolate and cake all come together like a happy little sugar filled family.   Chilling the cake pops also helps set your chocolate more quickly when you dip the cake pops (so you don’t spend 20 minutes waiting for each cake pop to quit dripping chocolate).


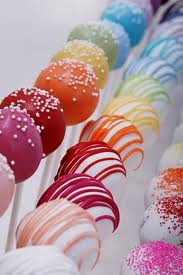
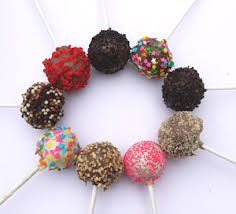
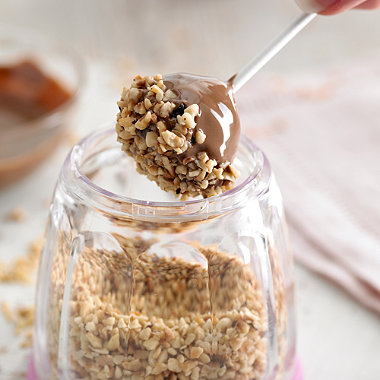
          I have an “always keep moving” thing when I make cake pops – the slow twirling of the cake pop until the chocolate sets.   It’s a bit of a balancing act to find when to add the sprinkles and when to put the cake pop down.   If you put the sprinkles on too soon, they can slide off and take the chocolate with them.   Wait too long and they won’t stick.   There is definitely  a sweet spot time wise to adding the crystals, and I think a lot of it just takes some practice and patience to find what works.


          They just look so cute & delicious!